Summary
Step 1: Choose a suitable wall and draw your design
Step 2: Collect and clean the moss
Step 3: Method 1: Make your graffiti moss with a natural mixture
Step 3: Method 2: Make your graffiti moss with organic glue
Step 4: Maintain your graffiti foam
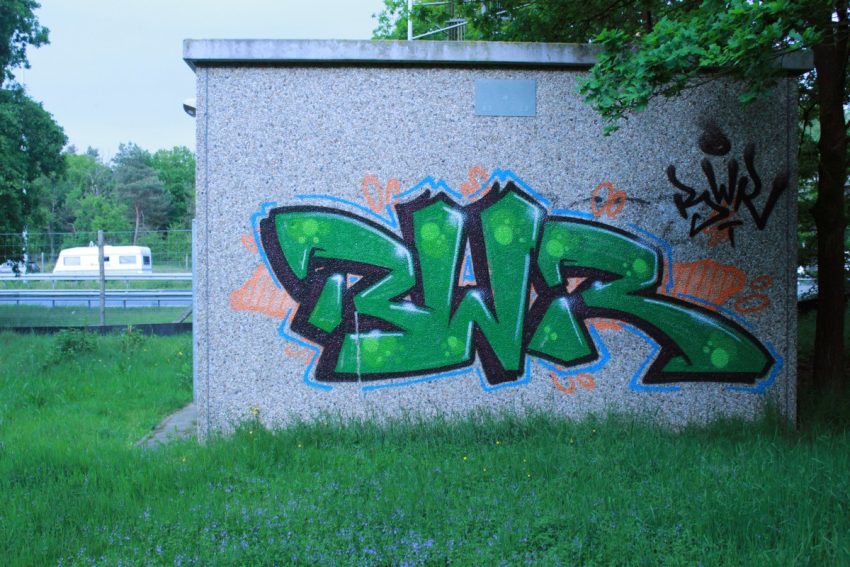
Frustrated by nature, city dwellers are never short of ideas to make their city greener. Moss graffitis originated in the Anglo-Saxon countries and involves writing or drawing on the city walls without using paint bombs and instead using wood moss mixed with all-natural materials that don’t harm the support.
Here, explained step by step, are two methods to achieve a graffiti foam as soft to the touch as green to the eye. In both cases, the final success remains uncertain, but the pleasure will be greater if your graffiti “grows”.
To give yourself the best chance, do your work in the spring or fall.
1. Choose a suitable wall and draw your design
Choose the right medium
To create a moss graffiti, choose a wall:
- imperatively exposed to the shade or half-shade (a sunny exposure would harm the moss, which lives in shady places);
- preferably brick or stone because of their porosity. However, a rendered or plastered concrete wall is also suitable, as well as wooden support (cabin wall…).
Draw your pattern
Once you have chosen the wall, draw the design of your choice with chalk: simple initials, one or more words, a geometric pattern, the silhouette of an animal, etc.
2. Collect and clean moss

Collect fine moss in your garden or the forest, such as that found on tree trunks or rocks.
Crumble the moss between your fingers and take the opportunity to remove any impurities: soil, small stones, twigs…
3. Method 1: Make your moss graffiti with a natural mixture
This method consists of painting directly on the wall with a natural greyish mixture consistent with paint. At first, the result is not green and does not look like graffiti moss: for this, a few weeks are necessary, so the moss clings and develops. It is also possible that the foam does not take…
Make the mixture
In a mixer, put:
- 3 handfuls of mousse;
- 2 cups of plain yogurt
- 2 cups of beer;
- 1/2 tablespoon of sugar.
Blend until the mixture is smooth. You may want to add a little corn syrup (optional) to improve the adhesion of your “paint”.
Paint on the wall
Transfer the mixture to a bucket.
Dip a brush into the mixture and paint over the chalked pattern.
3. Method 2: Make your foam graffiti with organic glue
This method consists of making a “biological glue” with which you paint a pattern on the wall and then sticking fragments of foam to the glued areas. The advantage of this method is that it immediately produces green, mossy graffiti. For it to last, the moss must re-grow, which is also uncertain.
Prepare an organic glue
Pour into a saucepan:
- 1/2 glass of beer;
- 1/2 glass of water;
- 1/2 glass of flour;
- 1 tablespoon of sugar.
Mix everything over low heat until you obtain a homogeneous “glue” with a grayish appearance.
Draw on the wall
Dip a brush into the cooled glue and brush over the previously drawn design on the wall.
By hand, apply small pieces of foam to the entire glued surface; press well to hold the foam in place.
4. Maintain your graffiti foam
Regardless of the method used to create the graffiti, spray a little water on it once or twice a week (depending on the climate) to keep it moist.
After a few weeks, thanks to the humidity and the nutrients provided by the beer and sugar, the moss should take hold.
Note: if your work is not successful, you do not like it, or you are bored, destroy it by spraying lemon juice on it.
Equipment needed to make a graffiti foam
Saucepan
Chalk
Wheat flour
Brush
Sprayer
Sugar

